
本页面面向插件作者。如果你想在 Codex 中浏览、安装和使用插件,请参阅 插件。如果你仍在迭代某个仓库或个人工作流,请先从本地技能开始。当你希望跨团队共享该工作流、捆绑应用集成或 MCP 配置、打包生命周期钩子,或者发布稳定的软件包时,再构建插件。
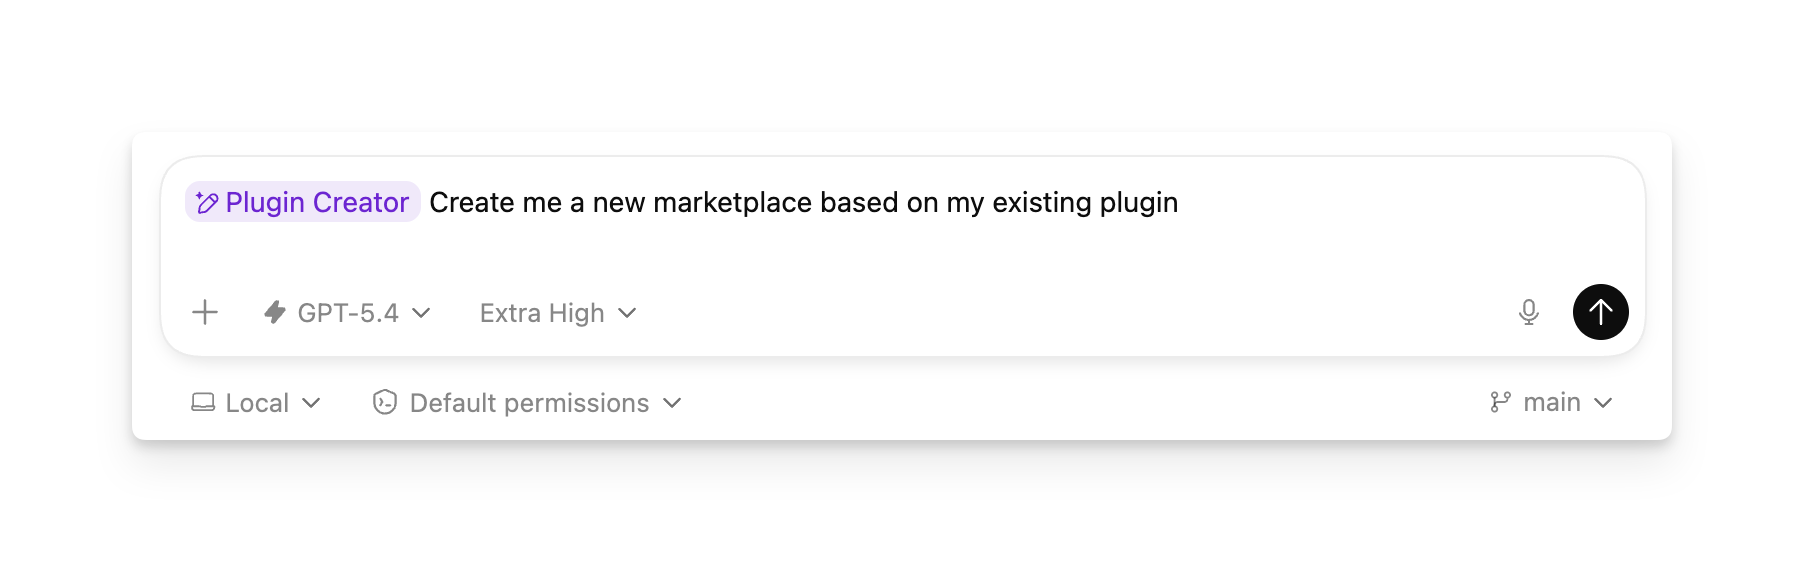
创建插件,使用 @plugin-creator
如需最快完成设置,请使用内置的 @plugin-creator skill.
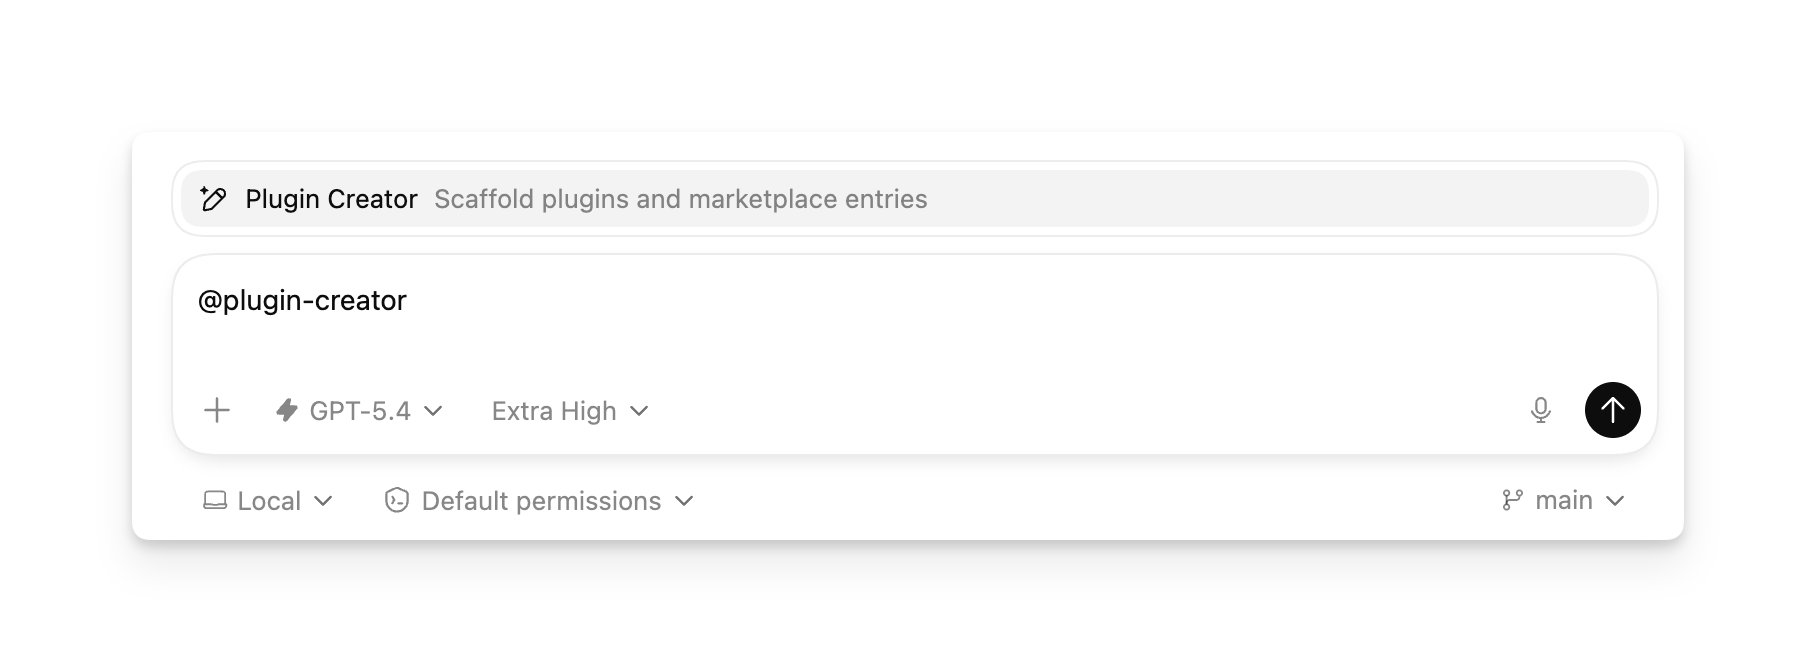
它会搭建所需的 .codex-plugin/plugin.json 清单文件,还可以生成本地市场条目以便测试。如果你已经有一个插件文件夹,你仍然可以使用 @plugin-creator 以便将其接入本地市场。
构建你自己的精选插件列表
市场是一个 JSON 格式的插件目录。 @plugin-creator 可以为单个插件生成一个市场,你可以不断向该市场添加条目,从而为某个仓库、团队或个人工作流构建你自己的精选列表。
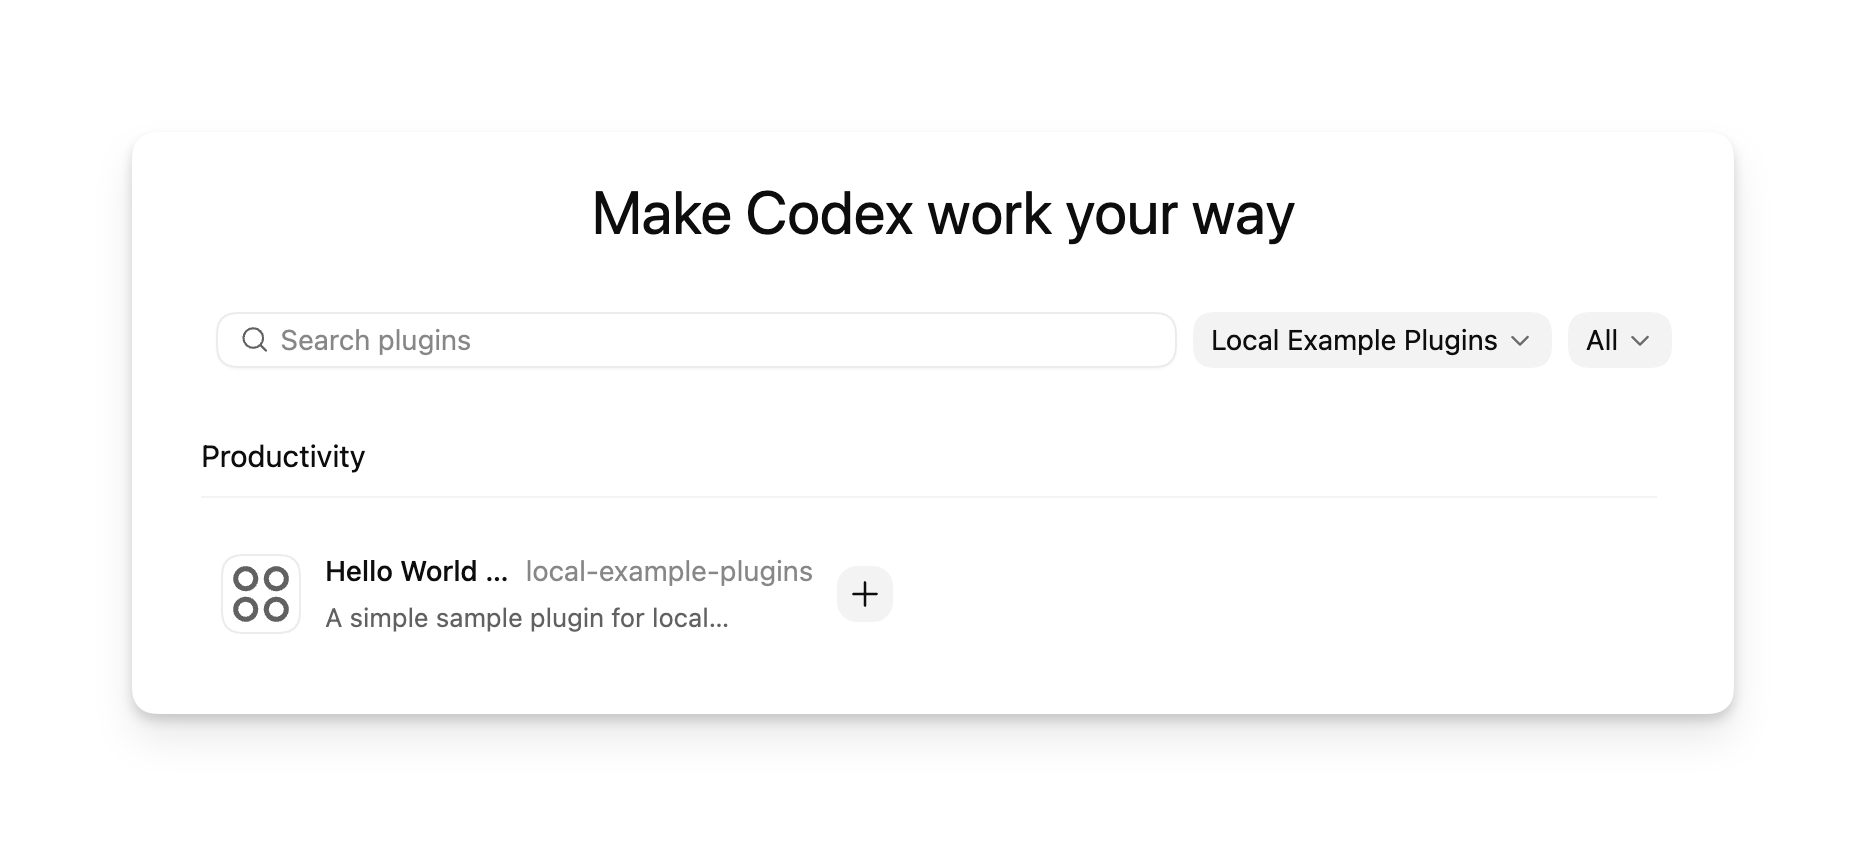
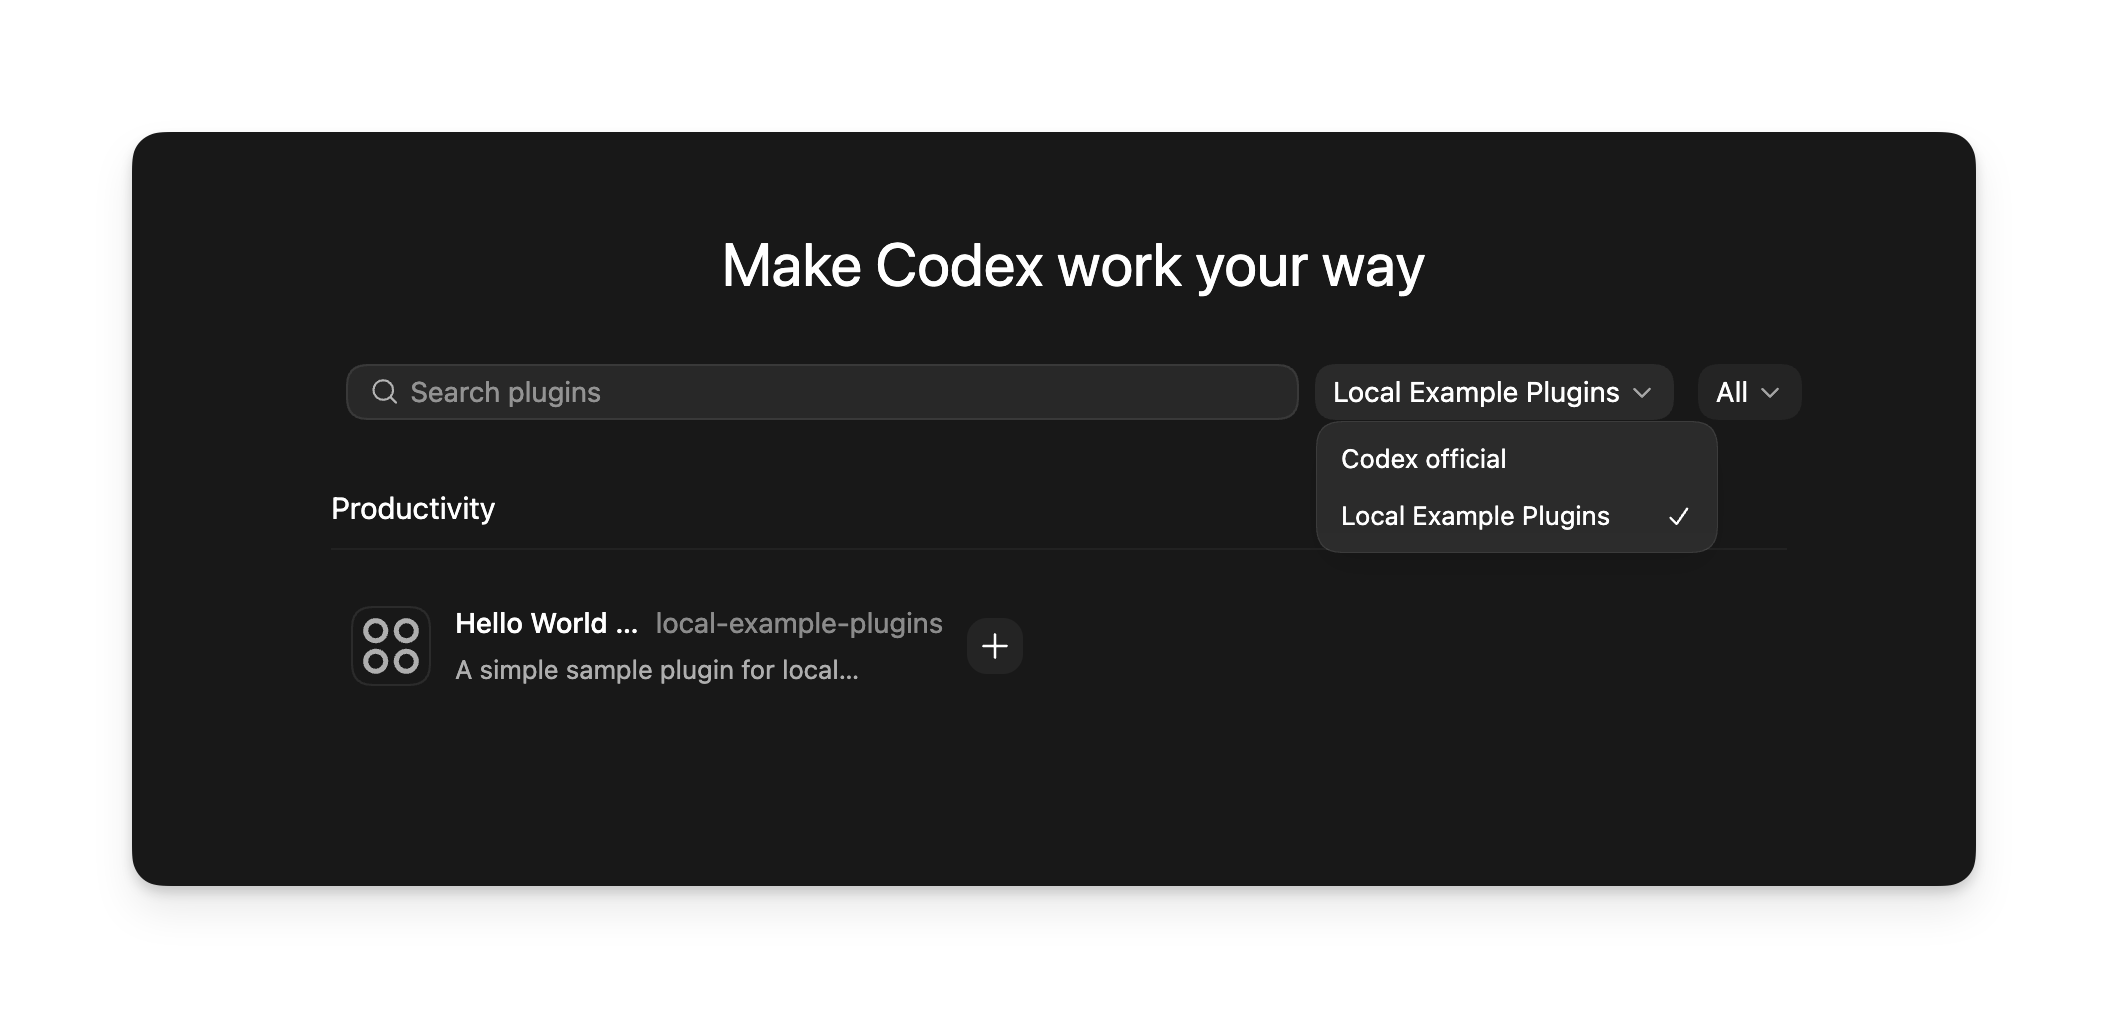
在 Codex 中,每个市场都会在插件目录中显示为一个可选的来源。使用 $REPO_ROOT/.agents/plugins/marketplace.json 作为仓库范围的列表,或使用 ~/.agents/plugins/marketplace.json 作为个人列表。在下面为每个插件添加一个条目, plugins[],将每个 source.path 指向带有 ./前缀(相对于市场根目录)的路径的插件文件夹,并设置
interface.displayName 改为您希望 Codex 在市场选择器中显示的标签。然后重启 Codex。之后,打开插件目录,选择您的市场,并在该精选列表中浏览或安装插件。
您无需为每个插件单独创建一个市场。一个市场可以在您测试时仅公开单个插件,然后随着您添加更多插件,逐步发展为一个更大的精选目录。
从 CLI 添加市场
使用 codex plugin marketplace add 当你希望 Codex 为你安装并跟踪市场源,而不是手动编辑 config.toml 时。
codex plugin marketplace add owner/repo
codex plugin marketplace add owner/repo --ref main
codex plugin marketplace add https://github.com/example/plugins.git --sparse .agents/plugins
codex plugin marketplace add ./local-marketplace-root
市场源可以是 GitHub 简写(owner/repo or
owner/repo@ref), HTTP 或 HTTPS Git URL、SSH Git URL 或本地 marketplace 根目录。使用 --ref 来固定 Git 引用,并重复使用 --sparse PATH 对 Git 支持的 marketplace 仓库使用稀疏检出。 --sparse 仅对 Git marketplace 源有效。
要检查、刷新或移除已配置的 marketplace:
codex plugin marketplace list
codex plugin marketplace upgrade
codex plugin marketplace upgrade marketplace-name
codex plugin marketplace remove marketplace-name
codex plugin marketplace list 打印 Codex 正在考虑的每个 marketplace 及其解析出的根路径,包括本地默认 marketplace 和已配置的 marketplace 快照。
手动创建插件
从打包单个技能的最小插件开始。
- 创建一个插件文件夹,并在其中包含清单文件
.codex-plugin/plugin.json.
mkdir -p my-first-plugin/.codex-pluginmy-first-plugin/.codex-plugin/plugin.json
{
  "name": "my-first-plugin",
  "version": "1.0.0",
  "description": "Reusable greeting workflow",
  "skills": "./skills/"
}
使用一个稳定版插件 name 采用 kebab-case 命名格式。Codex 会将其作为插件标识符和组件命名空间。
- 在以下位置添加技能
skills/<skill-name>/SKILL.md.
mkdir -p my-first-plugin/skills/hellomy-first-plugin/skills/hello/SKILL.md
---
name: hello
description: Greet the user with a friendly message.
---

Greet the user warmly and ask how you can help.- 将插件添加到 marketplace。使用
@plugin-creator生成一个,或者按照 构建你自己的精选插件列表 手动将插件接入 Codex。
之后,你可以根据需要添加 MCP 配置、应用集成或 marketplace 元数据。
手动安装本地插件
使用 repo marketplace 或 personal marketplace,具体取决于应授予谁对该插件或精选列表的访问权限。
在以下位置添加 marketplace 文件 $REPO_ROOT/.agents/plugins/marketplace.json
并将你的插件存储在 $REPO_ROOT/plugins/.
Repo marketplace 示例
步骤 1:将插件文件夹复制到 $REPO_ROOT/plugins/my-plugin.
mkdir -p ./plugins
cp -R /absolute/path/to/my-plugin ./plugins/my-plugin
步骤 2:添加或更新 $REPO_ROOT/.agents/plugins/marketplace.json 以便 source.path 指向该插件目录,使用带有 ./前缀的相对路径:
{
  "name": "local-repo",
  "plugins": [
    {
      "name": "my-plugin",
      "source": {
        "source": "local",
        "path": "./plugins/my-plugin"
      },
      "policy": {
        "installation": "AVAILABLE",
        "authentication": "ON_INSTALL"
      },
      "category": "Productivity"
    }
  ]
}
第 3 步:重启 Codex 并验证该插件是否出现。
在以下位置添加 marketplace 文件 ~/.agents/plugins/marketplace.json 并将你的插件存储在 ~/.codex/plugins/.
个人市场示例
步骤 1:将插件文件夹复制到 ~/.codex/plugins/my-plugin.
mkdir -p ~/.codex/plugins
cp -R /absolute/path/to/my-plugin ~/.codex/plugins/my-plugin
步骤 2:添加或更新 ~/.agents/plugins/marketplace.json 以便插件条目的 source.path 指向该目录。
第 3 步:重启 Codex 并验证该插件是否出现。
市场文件指向插件所在位置,因此这些目录仅为示例,而非固定要求。Codex 解析 source.path 时是相对于市场根目录,而不是相对于 .agents/plugins/ 文件夹的。请参阅
市场元数据 for the file format.
更改插件后,请更新你的市场条目所指向的插件目录,并重启 Codex,以便本地安装能够获取新文件。
与工作空间共享本地插件
创建插件并将其添加到 Codex 后,你可以通过 Codex 应用将其分享给 ChatGPT 工作空间的其他成员。
- 打开 插件 in the Codex app.
- Go to 由你创建 并打开插件详情页。
- 选择 分享.
- 添加工作区成员或复制分享链接。
- 选择有权访问的人员,然后发送邀请或链接。
您与之共享的人员可以在以下位置找到该插件 与您共享的 在插件目录中。与工作区共享本地插件并不会将其发布到公共插件目录。共享的插件仅限于您的工作区和组织边界内;未登录该工作区的账号无法访问它们。当您希望通过代码仓库或 CLI 进行分发时,请使用 marketplace;当您希望指定的团队成员从 Codex 应用安装插件时,请使用工作区共享功能。
工作区管理员可以通过添加以下内容来禁用插件共享功能(通过云端托管的需求进行控制) plugin_sharing = false to requirements.toml:
plugin_sharing = false市场元数据
如果您维护一个代码仓库 marketplace,请在
$REPO_ROOT/.agents/plugins/marketplace.json。对于个人市场,请使用
~/.agents/plugins/marketplace.json。市场文件用于控制面向 Codex 的目录中的插件排序和安装策略。它可以代表您在测试时的单个插件,也可以是您希望 Codex 在同一市场名称下一起展示的精选插件列表。在将插件添加到市场之前,请确保其 version, 发布者元数据和安装界面的文案已准备好供其他开发者查看。
{
  "name": "local-example-plugins",
  "interface": {
    "displayName": "Local Example Plugins"
  },
  "plugins": [
    {
      "name": "my-plugin",
      "source": {
        "source": "local",
        "path": "./plugins/my-plugin"
      },
      "policy": {
        "installation": "AVAILABLE",
        "authentication": "ON_INSTALL"
      },
      "category": "Productivity"
    },
    {
      "name": "research-helper",
      "source": {
        "source": "local",
        "path": "./plugins/research-helper"
      },
      "policy": {
        "installation": "AVAILABLE",
        "authentication": "ON_INSTALL"
      },
      "category": "Productivity"
    }
  ]
}- 中使用顶层
nameto identify the marketplace. - 使用
interface.displayName来定义 Codex 中显示的 marketplace 标题。 - 在
plugins下为每个插件添加一个对象,以构建 Codex 在该 marketplace 标题下显示的精选列表。 - 将每个插件条目的
source.path指向您希望 Codex 加载的插件目录。对于通过代码仓库安装的情况,该目录通常位于./plugins/。对于个人安装,一种常见的模式是./.codex/plugins/<plugin-name>. - 保持
source.path(相对于市场根目录)时,请以以下内容开头./, 并将其保留在该根目录内。 - For local entries,
source也可以是纯字符串路径,例如"./plugins/my-plugin". - 始终包含
policy.installation,policy.authentication,且category在每个插件条目上。 - 使用
policy.installation值,例如AVAILABLE,INSTALLED_BY_DEFAULT, orNOT_AVAILABLE. - 使用
policy.authentication来决定是在安装时还是在首次使用时进行身份验证。
市场控制 Codex 从何处加载插件。如果你的插件位于这些示例目录之外,本地的
source.path 可以指向其他位置。市场文件可以存放在你开发插件的代码库中,也可以存放在单独的市场代码库中,并且一个市场文件可以指向一个或多个插件。
市场条目也可以指向 Git 支持的插件源。使用
"source": "url" 当插件位于仓库根目录时,或者
"source": "git-subdir" 当插件位于子目录中时:
{
  "name": "remote-helper",
  "source": {
    "source": "git-subdir",
    "url": "https://github.com/example/codex-plugins.git",
    "path": "./plugins/remote-helper",
    "ref": "main"
  },
  "policy": {
    "installation": "AVAILABLE",
    "authentication": "ON_INSTALL"
  },
  "category": "Productivity"
}
基于 Git 的条目可以使用 ref or sha 选择器。如果 Codex 无法解析某个市场条目的来源,它会跳过该插件条目,而不是导致整个市场失败。
Codex 如何使用市场
插件市场是一个 JSON 插件目录,Codex 可以从中读取并安装插件。
Codex 可以从以下位置读取市场文件:
- 为官方 Plugin Directory 提供支持的精选市场
- a repo marketplace at
$REPO_ROOT/.agents/plugins/marketplace.json - a legacy-compatible marketplace at
$REPO_ROOT/.claude-plugin/marketplace.json - a personal marketplace at
~/.agents/plugins/marketplace.json
你可以安装通过市场公开的任何插件。Codex 会将插件安装到
~/.codex/plugins/cache/$MARKETPLACE_NAME/$PLUGIN_NAME/$VERSION/。对于本地插件, $VERSION is local,并且 Codex 会从该缓存路径加载已安装的副本,而不是直接从市场条目加载。
你可以单独启用或禁用每个插件。Codex 会将每个插件的开启或关闭状态存储在 ~/.codex/config.toml.
打包并分发插件
插件结构
每个插件在以下位置都有一个清单文件 .codex-plugin/plugin.json。它也可以包含一个 skills/ 目录,一个用于生命周期钩子的 hooks/ 目录,一个指向一个或多个应用或连接器的 .app.json
文件,一个用于配置 MCP 服务器的 .mcp.json 文件,以及用于在受支持的界面中展示该插件的资源。
-
my-plugin/
-
.codex-plugin/
- plugin.json 必填:插件清单
-
-
skills/
-
my-skill/
- SKILL.md 可选:技能指令
-
-
-
hooks/
- hooks.json 可选:生命周期钩子
-
- .app.json 可选:应用或连接器映射
- .mcp.json 可选:MCP 服务器配置
- assets/ 可选:图标、徽标、屏幕截图
-
仅限 plugin.json 属于 .codex-plugin/。保持 skills/, hooks/,
assets/, .mcp.json,且 .app.json 位于插件根目录。
已发布的插件通常使用比快速入门脚手架中显示的最小示例更丰富的清单文件。清单具有三项功能:
- 标识插件。
- 指向捆绑的组件,例如技能、应用、MCP 服务器或钩子。
- 提供安装界面的元数据,例如描述、图标和法律链接。
以下是一个完整的清单示例:
{
  "name": "my-plugin",
  "version": "0.1.0",
  "description": "Bundle reusable skills and app integrations.",
  "author": {
    "name": "Your team",
    "email": "[email protected]",
    "url": "https://example.com"
  },
  "homepage": "https://example.com/plugins/my-plugin",
  "repository": "https://github.com/example/my-plugin",
  "license": "MIT",
  "keywords": ["research", "crm"],
  "skills": "./skills/",
  "mcpServers": "./.mcp.json",
  "apps": "./.app.json",
  "hooks": "./hooks/hooks.json",
  "interface": {
    "displayName": "My Plugin",
    "shortDescription": "Reusable skills and apps",
    "longDescription": "Distribute skills and app integrations together.",
    "developerName": "Your team",
    "category": "Productivity",
    "capabilities": ["Read", "Write"],
    "websiteURL": "https://example.com",
    "privacyPolicyURL": "https://example.com/privacy",
    "termsOfServiceURL": "https://example.com/terms",
    "defaultPrompt": [
      "Use My Plugin to summarize new CRM notes.",
      "Use My Plugin to triage new customer follow-ups."
    ],
    "brandColor": "#10A37F",
    "composerIcon": "./assets/icon.png",
    "logo": "./assets/logo.png",
    "screenshots": ["./assets/screenshot-1.png"]
  }
}
.codex-plugin/plugin.json 是必填的入口点。其他清单字段是可选的,但已发布的插件通常会使用它们。
清单字段
使用顶层字段来定义包元数据并指向捆绑的组件:
name,version,且description标识插件。author,homepage,repository,license,且keywords提供发布者和发现元数据。skills,mcpServers,apps,且hooks指向相对于插件根目录的捆绑组件。interface控制安装界面如何展示插件。
使用 interface install-surface 元数据对应的 object:
displayName,shortDescription,且longDescription控制标题和描述性文案。developerName,category,且capabilities添加发布者和能力元数据。websiteURL,privacyPolicyURL,且termsOfServiceURL提供外部链接。defaultPrompt,brandColor,composerIcon,logo,且screenshots控制起始提示词和视觉呈现。
路径规则
- 请将 manifest 路径保持为相对于插件根目录的路径,并以以下内容开头
./. - 存储视觉资产,例如
composerIcon,logo,且screenshots下./assets/glob 在 Linux、WSL 和原生 Windows 沙盒中的可移植性较差,因此在可能的情况下,优先使用精确路径或子树规则,例如 - 使用
skillsfor bundled skill folders,appsfor.app.json,mcpServersfor.mcp.json,且hooksfor lifecycle hooks. - 已启用的插件可以包含生命周期钩子(lifecycle hooks),以及 skills、MCP server 和 apps。
- 如果你的插件将钩子存储在
./hooks/hooks.json, 你不需要一个hooks条目来覆盖该默认设置,该条目位于.codex-plugin/plugin.json;Codex 会自动检查该默认文件。
捆绑的 MCP server 和生命周期钩子
mcpServers 可以指向一个 .mcp.json 文件,该文件包含直接服务器映射或包装后的 mcp_servers object.
直接服务器映射:
{
  "docs": {
    "command": "docs-mcp",
    "args": ["--stdio"]
  }
}
包装服务器映射:
{
  "mcp_servers": {
    "docs": {
      "command": "docs-mcp",
      "args": ["--stdio"]
    }
  }
}
安装后,用户可以在其 Codex 配置中启用或禁用捆绑的 MCP server,并调整工具审批策略,而无需编辑插件。使用
plugins.<plugin>.mcp_servers.<server> 配置插件范围的 MCP server 策略:
[plugins."my-plugin".mcp_servers.docs]
enabled = true
default_tools_approval_mode = "prompt"
enabled_tools = ["search"]

[plugins."my-plugin".mcp_servers.docs.tools.search]
approval_mode = "approve"
启用插件后,Codex 可以从你的插件中加载生命周期钩子,以及用户、项目和托管钩子。
安装或启用插件并不会自动信任其钩子。插件捆绑的钩子属于非托管钩子,因此在用户审查并信任当前的钩子定义之前,Codex 会跳过它们。
默认的插件钩子文件为 hooks/hooks.json:
{
  "hooks": {
    "SessionStart": [
      {
        "hooks": [
          {
            "type": "command",
            "command": "python3 ${PLUGIN_ROOT}/hooks/session_start.py",
            "statusMessage": "Loading plugin context"
          }
        ]
      }
    ]
  }
}
如果你定义了 hooks in .codex-plugin/plugin.json,Codex 会使用该清单条目而非默认值 hooks/hooks.json。清单字段可以是单个路径、路径数组、内联钩子对象,或内联钩子对象的数组。
{
  "name": "repo-policy",
  "hooks": ["./hooks/session.json", "./hooks/tools.json"]
}
钩子路径遵循与以下内容相同的 manifest 路径规则 skills, apps,且
mcpServers:开头, ./,相对于插件根目录解析,并保留在插件根目录内。
插件钩子命令接收 Codex 专用的环境变量,其中
PLUGIN_ROOT and PLUGIN_DATA. PLUGIN_ROOT 指向已安装的插件根目录,并且 PLUGIN_DATA 指向插件的可写数据目录。Codex 还会设置 CLAUDE_PLUGIN_ROOT and CLAUDE_PLUGIN_DATA 以兼容现有的插件钩子。
插件钩子使用与常规钩子相同的事件 schema。请参阅 钩子 以了解支持的事件、输入、输出、信任审查以及当前的限制。
发布官方公开插件
将插件添加到官方插件目录的功能即将推出。
自助式插件发布和管理功能即将推出。